Swift - 圆形图片的生成及显示(两种办法)
作者:KNN 日期:2020-04-06 分类:IOS文章
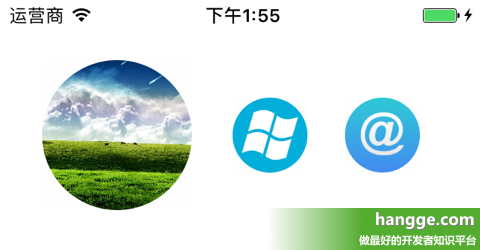
有时我们需要将一些矩形图片处理成圆形并显示,比如:功能图标、用户头像等。下面介绍两种显示圆形图片的方法。
(2)使用样例
1,通过设置imageView圆角来实现
这种方法实际上没有对原始图片进行处理。只不过在展示的时候,通过设置 UIImageView 圆角半径,从而显示成圆形图片。1 2 3 4 5 6 7 8 9 10 11 | //获取图片let image = UIImage(named: "image1")//创建imageViewlet imageView = UIImageView(image: image)imageView.frame = CGRect(x:40, y:40, width:100, height:100)imageView.contentMode = .scaleAspectFill//设置遮罩imageView.layer.masksToBounds = true//设置圆角半径(宽度的一半),显示成圆形。imageView.layer.cornerRadius = imageView.frame.width/2self.view.addSubview(imageView) |
2,通过图片裁剪来实现
这种方式是通过遮罩剪切的方法,重新生成一张圆形的图片。
(1)扩展 UIImage,增加圆形裁剪方法
1 2 3 4 5 6 7 8 9 10 11 12 13 14 15 16 17 18 19 20 21 22 23 24 | extension UIImage { //生成圆形图片 func toCircle() -> UIImage { //取最短边长 let shotest = min(self.size.width, self.size.height) //输出尺寸 let outputRect = CGRect(x: 0, y: 0, width: shotest, height: shotest) //开始图片处理上下文(由于输出的图不会进行缩放,所以缩放因子等于屏幕的scale即可) UIGraphicsBeginImageContextWithOptions(outputRect.size, false, 0) let context = UIGraphicsGetCurrentContext()! //添加圆形裁剪区域 context.addEllipse(in: outputRect) context.clip() //绘制图片 self.draw(in: CGRect(x: (shotest-self.size.width)/2, y: (shotest-self.size.height)/2, width: self.size.width, height: self.size.height)) //获得处理后的图片 let maskedImage = UIGraphicsGetImageFromCurrentImageContext()! UIGraphicsEndImageContext() return maskedImage }} |
(2)使用样例
1 2 3 4 5 6 | //获取图片let image = UIImage(named: "image1")?.toCircle()//创建imageViewlet imageView = UIImageView(image: image)imageView.frame = CGRect(x:40, y:40, width:100, height:100)self.view.addSubview(imageView) |
文章来源网络:点击这里查看源文.